

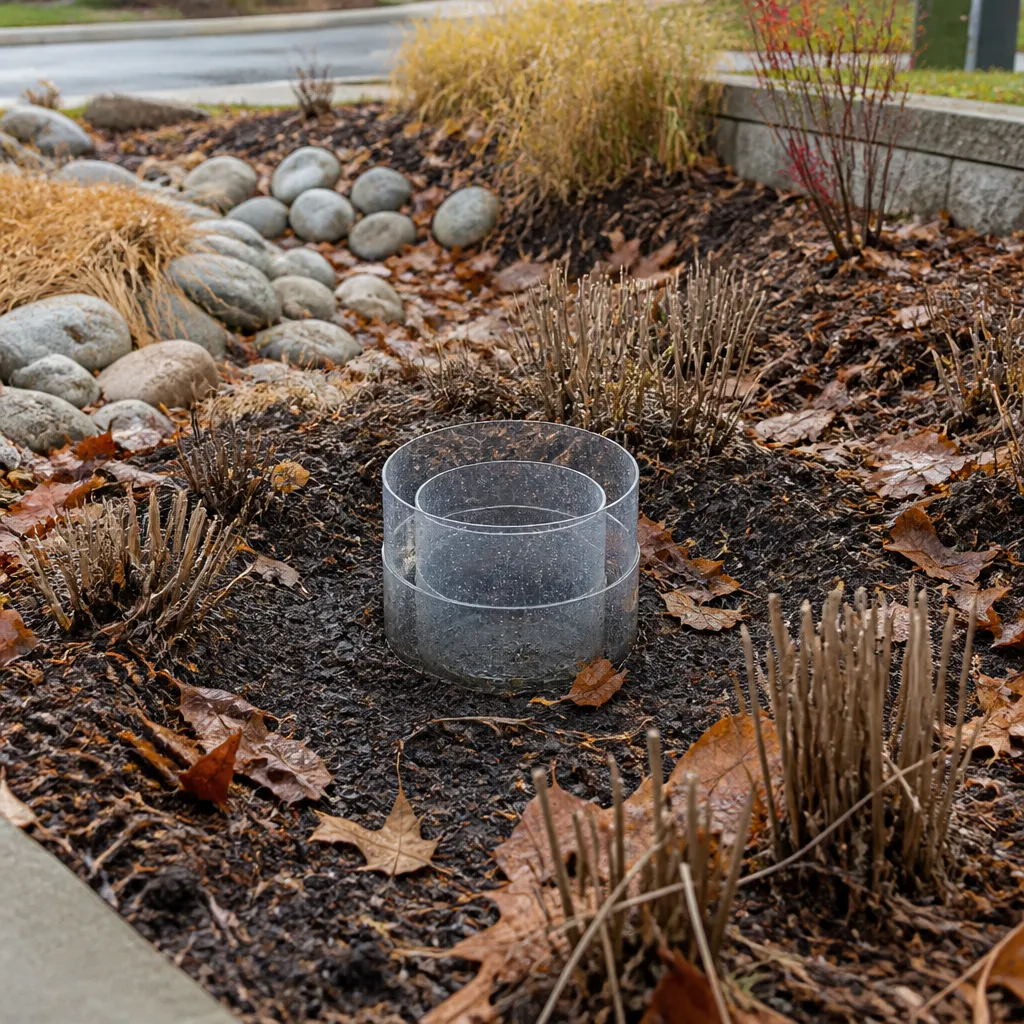
Most bioretention cells look fine in October. The leaves are down, the plants are cut back, and the ponding is gone after the last storm. Then April arrives, the first heavy rain sits on the surface for two days, and the owner calls to ask why the rain garden is failing. The answer is usually in the soil media, and it was often measurable months earlier. Bioretention maintenance done in late fall, including permeability testing, is the most reliable way to learn whether the media will pass water when spring runoff arrives.
Table of Contents
- Quick Takeaways
- Why Late Fall Is the Testing Window
- What Bioretention Soil Media Must Do
- How Permeability Gets Measured
- A Late Fall Testing Sequence
- Comparing Permeability Test Approaches
- Fixing Soil Media Before Spring
- Frequently Asked Questions
- References
Quick Takeaways
| Key Insight | Explanation |
|---|---|
| Test in late fall, before the ground freezes | A November result shows how the cell came out of the season and leaves time to fix it. Once the cell freezes, you cannot test it in a meaningful way until thaw. |
| Identify the blend before you judge the number | Blend A and Blend B carry different permeability floors, 75 mm/h and 25 mm/h respectively. A rate that passes one can fail the other. |
| Remove surface sediment and leaves first | Debris on the surface biases a surface test low, so you end up measuring the sediment rather than the media. |
| Control compaction when you compare results | Compaction changes the reading. Record the density used in lab tests and the surface condition for field tests. |
| Keep organic matter inside the target range | Organic matter between 3 and 10 percent by dry weight supports plants, but excess organic content breaks down, holds water, and slows drainage. |
| Log every cell separately with dated records | A single failing cell at the inlet points to a local sediment problem. Dated records let you compare spring retests against the November baseline. |
Why Late Fall Is the Testing Window
Late fall is the point in the year when a permeability result still means something. The growing season has put a full load of sediment, leaf litter, and organic debris onto the media surface, but the ground has not yet frozen. That combination shows you how the cell actually came out of the season, which is the condition it will carry into spring.
Freeze-up closes the window
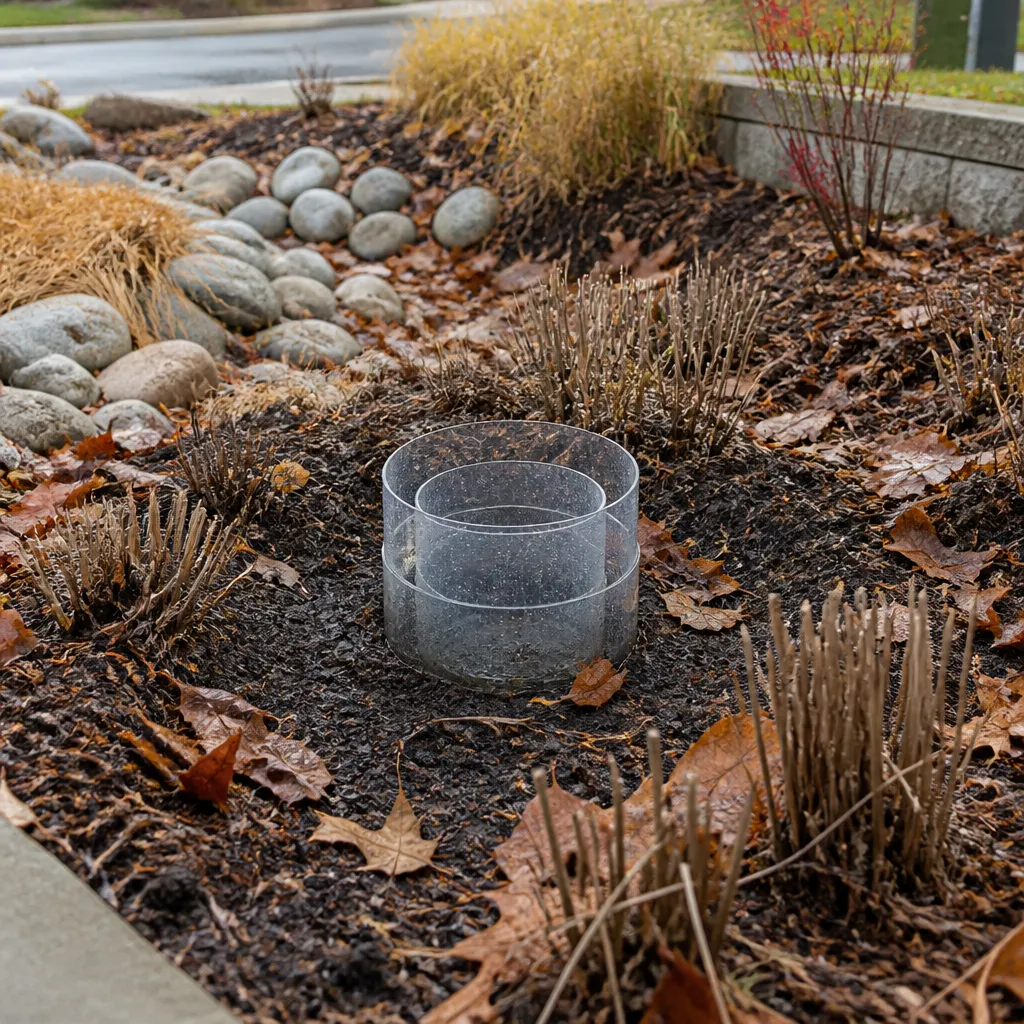
Once the cell freezes, you cannot probe the media, run a surface infiltration test, or collect a usable core. Anything clogged in November stays clogged until thaw. The first significant melt or spring storm then arrives at a surface that is already saturated.
The consequence usually shows up as standing water that lingers for days, which is what owners notice first. Spring testing is still useful, but it answers a different question. It tells you whether a problem exists, while a late fall test gives you time to act.
Why the timing favors a fix
Scraping and replacement are easiest in the dry weeks after leaf drop, when equipment access is good and the site has not yet moved into active spring work. Waiting until April compresses that work into the same weeks as planting, mulching, and the first inspections of the year. Owners who schedule the fix in late fall keep control of the calendar. Owners who wait let the storm set it.
What Bioretention Soil Media Must Do
Bioretention soil media has two jobs that pull against each other. It must drain fast enough to empty the cell within a reasonable time after a storm, and it must hold enough fines, organic matter, and nutrients to support plants and capture pollutants. Get the mix wrong on either side and the cell fails, sometimes in ways that only show up after a few seasons.
Filter media blends and their permeability targets
The filter media section of the LID SWM Planning and Design Guide, a widely used low impact development reference, describes two blend options. Blend A is three parts sand to one part organic soil components and additives. Blend B adds two parts topsoil, which gives more diverse planting options and better metals and phosphorus retention.
Both blends carry a permeability floor, which is 75 mm/h for Blend A and 25 mm/h for Blend B, along with an upper limit of 300 mm/h for both. Those numbers explain why a single “it drains” observation is not enough. A cell draining at 40 mm/h passes the Blend B floor but fails the Blend A floor. Know which blend was specified before you test, and write the target onto the test sheet.
The upper limit matters as well. Media that drains very fast gives pollutants little contact time, so a result far above the ceiling is a finding, not a win.
Organic matter and nutrient balance
The same guidance sets organic matter at 3 to 10 percent by dry weight and a cation exchange capacity above 10 meq/100 g. Organic matter helps the media hold nutrients and support plants, but too much of it breaks down over time, holds water, and slows drainage. A common pattern is that the cells clogging fastest carry the highest organic content, because the organic fraction decomposes and fines accumulate in the voids.
Plant-available phosphorus also has a target window, 12 to 40 ppm by the Olsen method in that guidance. Results from different phosphorus methods are not directly comparable, so label the method on every lab report and never set a Mehlich result against an Olsen target.
How Permeability Gets Measured
Permeability testing sounds simple until you try to make two results comparable. The method, the sample condition, and the water temperature all change the number. Before you commission a test, agree on which standard applies and what sample preparation it requires.
Infiltration rate testing in place
ASTM D8550 is a standard test method for determining infiltration rate, and its stated scope runs from 2.5 mm/h to 1200 mm/h. That range comfortably covers the bioretention band, which makes it a sensible choice for checking an installed cell. Its practical value is that it reflects the media as it sits today, with its real surface, compaction, and moisture, rather than a lab sample prepared under ideal conditions.
The trade-off is variability. A freshly scraped surface, a patch of wet soil, or a new mulch layer will all shift the reading. Record the surface condition alongside every number so the next test is compared against like conditions.
Laboratory permeability on compacted samples
Laboratory tests on compacted samples give you tighter control. The Model Biotreatment Soil Media Specifications (MRP 2.0) require bioretention soil for the permeability test to be compacted to 85 to 90 percent of maximum dry density under ASTM D1557. That detail matters because a loosely compacted sample reads high, a hard-compacted one reads low, and neither reflects a cell that has settled naturally.
A permeability number is only as good as the compaction behind it. Two results from the same media can differ enough to turn a pass into a fail if the samples were prepared differently.
Pro tip: Ask the lab to report compaction density, moisture content, and the water temperature used in the test, not just the final rate. Without those three values, you cannot tell whether a spring retest is comparable to the November result.
A Late Fall Testing Sequence
A test result is only useful if the surface it measures was prepared the same way every time. The sequence below is the one our crews follow on bioretention maintenance visits, and it starts with the surface rather than the number. Skipping the preparation is the fastest way to produce a result nobody trusts in March.
Clear the surface before the test
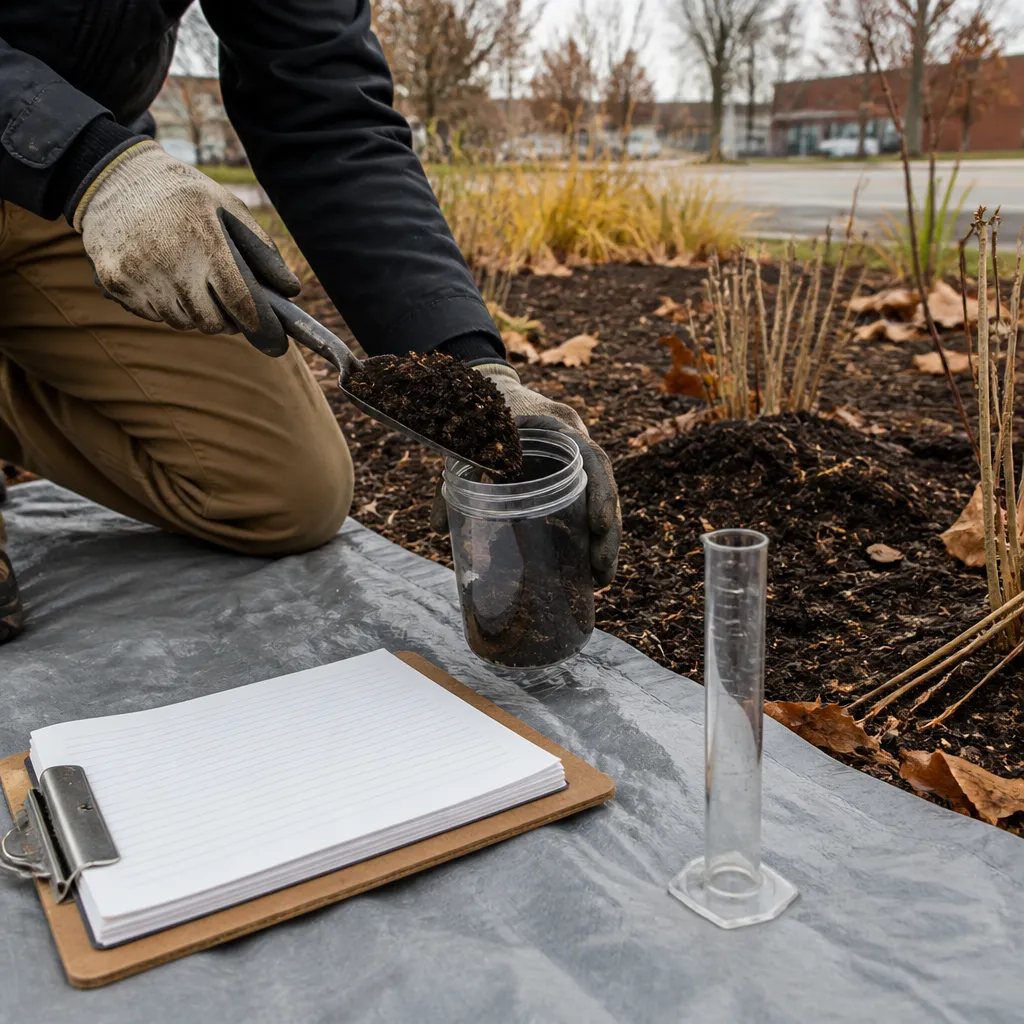
Remove leaves, mulch, and loose sediment from the cell surface and the inlet area before testing. Minnesota’s stormwater manual lists pretreatment and easy site access as REQUIRED design elements for infiltration and filtration systems, and the same logic carries into maintenance. If the inlet forebay is full, the media is receiving sediment it was never meant to absorb.
Sediment sitting on the surface will also bias a surface test low. You would be measuring the sediment, not the media, and that result will push you toward unnecessary replacement.
Work from the inlet outward
Test cells in the order they receive runoff, starting with the one nearest the inlet. The first cell usually carries the most sediment and the most visible clogging, and its result tells you whether the problem is local or site-wide. Log each cell separately rather than averaging them, since one failing cell in a healthy system is a different problem from a row of marginal ones.
Record moisture and temperature with the rate
Take a moisture reading and surface temperature at each test point. Cold water is more viscous, so a test in near-freezing weather will read slower than the same media in July. A reading taken on a wet morning after rain will also run low compared with a dry afternoon, so note the conditions every time.
Pro tip: Mark each test point with a stake or a GPS coordinate and photograph the surface before and after testing. The photo is what lets the spring crew confirm they are testing the same spot under comparable conditions.
Comparing Permeability Test Approaches
Three approaches cover most bioretention decisions. Each answers a different question, and mixing their results without noting the method is the most common reporting error we see.
| Approach | Best Use | Main Limitation |
|---|---|---|
| Infiltration rate test under ASTM D8550 | Checking an installed cell in its current condition before winter | Surface preparation, moisture, and sediment on the surface all shift the reading |
| Laboratory permeability on a compacted sample (ASTM D2434 method cited in filter media guidance) | Verifying media before installation or after a mix change | Compaction and sample preparation can move the result, so it may not match field behavior |
| Hydraulic conductivity testing under AS4419-2003 Appendix H | Comparing media against Australian guideline specifications | Built around a different standard, so results need careful translation before comparison to US project criteria |
For a routine late fall check, the field infiltration test is the right default. Use laboratory testing when you are buying or blending media, because that is the only point where you control the mix and compaction. The Australian approach is useful reference material, but a result under that method is not a drop-in substitute for a result under a project specification.
Whatever method you choose, put the standard number in the report header. A reader six months later should not have to guess whether a 60 mm/h reading came from a compacted lab sample or a surface test.
Fixing Soil Media Before Spring
A failing result in late fall gives you three options: wait and hope, remediate the top layer, or replace the media. Most cells that fail in November do not need full replacement, but some do, and the test result is what tells you which. At SWC, we handle this as part of maintenance and documentation: we test, clean the inlets, remove the surface layer where needed, and record each result against the O&M plan.
Surface scraping and top-layer removal
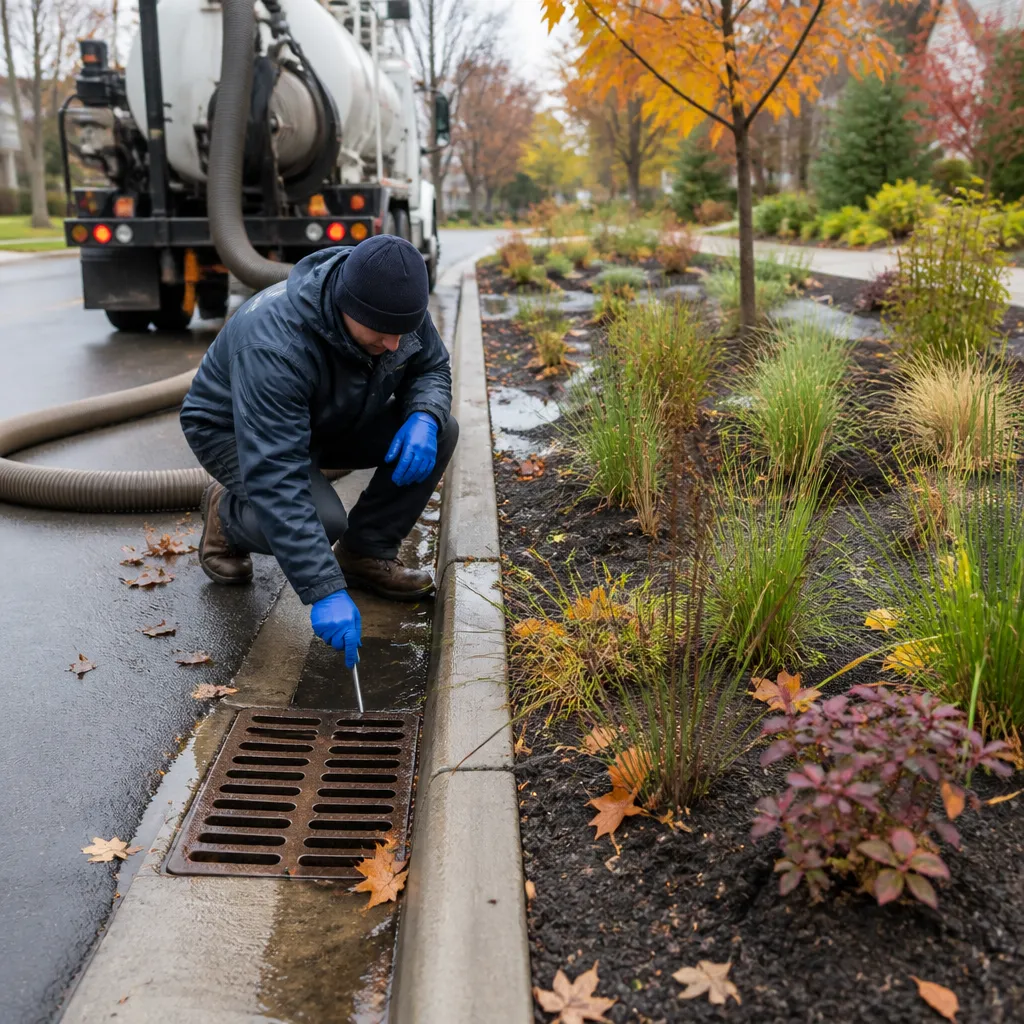
When clogging is confined to the top few inches, removing the surface layer and replacing it restores drainage without disturbing the root zone below. Remove the layer, retest the exposed media, and only then decide whether the mix underneath is salvageable. Do not rake sediment into the voids to level the surface, because that pushes fines deeper and makes the next test worse.
When to amend and when to replace
Amending with compost or sand is a short-term fix when the media is still within the permeability band but the organic content or nutrient level is off. Replacement is the right call when the media falls below the floor for its blend after surface removal, or when the lab shows the mix itself is not what was specified. Amendment cannot fix a blend that was never made correctly. Adding compost to a mix already near the organic ceiling pushes it further out of range, so check the lab result before you add anything.
Pro tip: Schedule remediation for the dry weeks after the last leaf drop, and book the retest for the first warm spell of spring. That gives you a before and after pair from the same season rather than a comparison across two years.
Frequently Asked Questions
How often should bioretention soil media be tested for permeability?
Test once a year in late fall as a routine check, and again after any major sediment event, such as construction runoff reaching the cell or visible ponding after storms. Cells with a history of clogging deserve a second test in early spring to confirm the late fall result held.
What permeability rate should bioretention media reach?
It depends on the blend and the specification governing your project. The filter media guidance cited above sets a floor of 75 mm/h for Blend A and 25 mm/h for Blend B, with an upper limit of 300 mm/h for both, so confirm which blend and standard your project references before judging a result.
Can permeability testing be done in winter?
Not reliably. Frozen or saturated media cannot be tested in a way that reflects its normal condition, and cold water reads slower. If you miss the late fall window, schedule the test for the first thaw and record the conditions carefully.
What causes permeability to drop in a bioretention cell?
The usual causes are fine sediment settling into the voids, organic buildup from leaves and decomposed mulch, and compaction from foot or equipment traffic. Missing pretreatment and inlet maintenance speeds up all three.
Is a visual check enough to judge bioretention performance?
No. A cell can look dry on the surface and still drain slowly below it, or look wet after a storm while passing water at an acceptable rate. A measured rate is the only way to compare results across seasons and cells.
Should the property owner or a contractor handle the testing?
Whoever performs the testing should keep the method, moisture, and surface conditions in the report. Owners often find it simpler to hire one provider that can test, remediate, and document in the same visit, which keeps the records consistent with the O&M plan.
What did your late fall permeability results show, and did the spring performance match them?
References
- Minnesota guidance on bioretention design criteria and maintenance considerations
- EPA fact sheet on bioretention rain gardens as a stormwater best management practice
- Model biotreatment soil media specifications with permeability test compaction requirements
- ASTM D8550 standard test method for determining infiltration rate
- Guideline specifications for soil media in bioretention, including permeability testing